Once again with this past winter season being one of the heaviest snow years in the Sierras, I was expecting still plenty of snow for both peaks. This would be my first time in this region of the Sierras which including this notorious Shepard Pass. The plan was:
- Day #1: Early start out of Fresno, drive to the eastern Sierra, hike up over Shepard pass, camp somewhere near both peaks.
- Day #2: Summit Williamson and possibly Tyndall in the same day.
- Day #3: Summit the other peak if unable to do both the previous day and then hike out, drive home.
A little background on both of these peaks for you...
- Mount Williamson is the second highest peak in California and has an elevation of 14,375'. It actually has three summits - each OVER 14,000'! The two lower peaks along the northeast ridge are known as the "East Horn" (14,125') and the "West Horn" (14,160') are connected to the main summit via a large plateau. Historically, Mount Williamson had a climbing restriction in place due to the California bighorn sheep zoological area. Most the mountain was inside the preserve and it was only open to people from December 15th til January 1st and then again from April 15th to May 15th of each. That time frame put some serious restrictions in climbing (at least legal climbing) of Mt Williamson. Fortunately, the previous year the restrictions where removed and the mountain can be climbed year round now. Our route up Mount Williamson would be the West Face - class 3. RJ Secor's Peak, Passes, and Trails describes the West Face as, "The West Face route of Mount Williamson is a confusing maze of chutes, many of which lead to dead ends. The following route description may not be of much help. Nevertheless..." A lot of the unknown for the route was how was the section of class 3? Would it be blocked by snow? Would it be icy?
- Mount Tyndall (14,018') is directly east from Mount Williamson. This peak has a pretty impressive east face reminiscent of the east face of Mount Whitney. Our plan was to ascend either the Northwest Ridge - class 2 or the North Rib - class 3 from our camp.

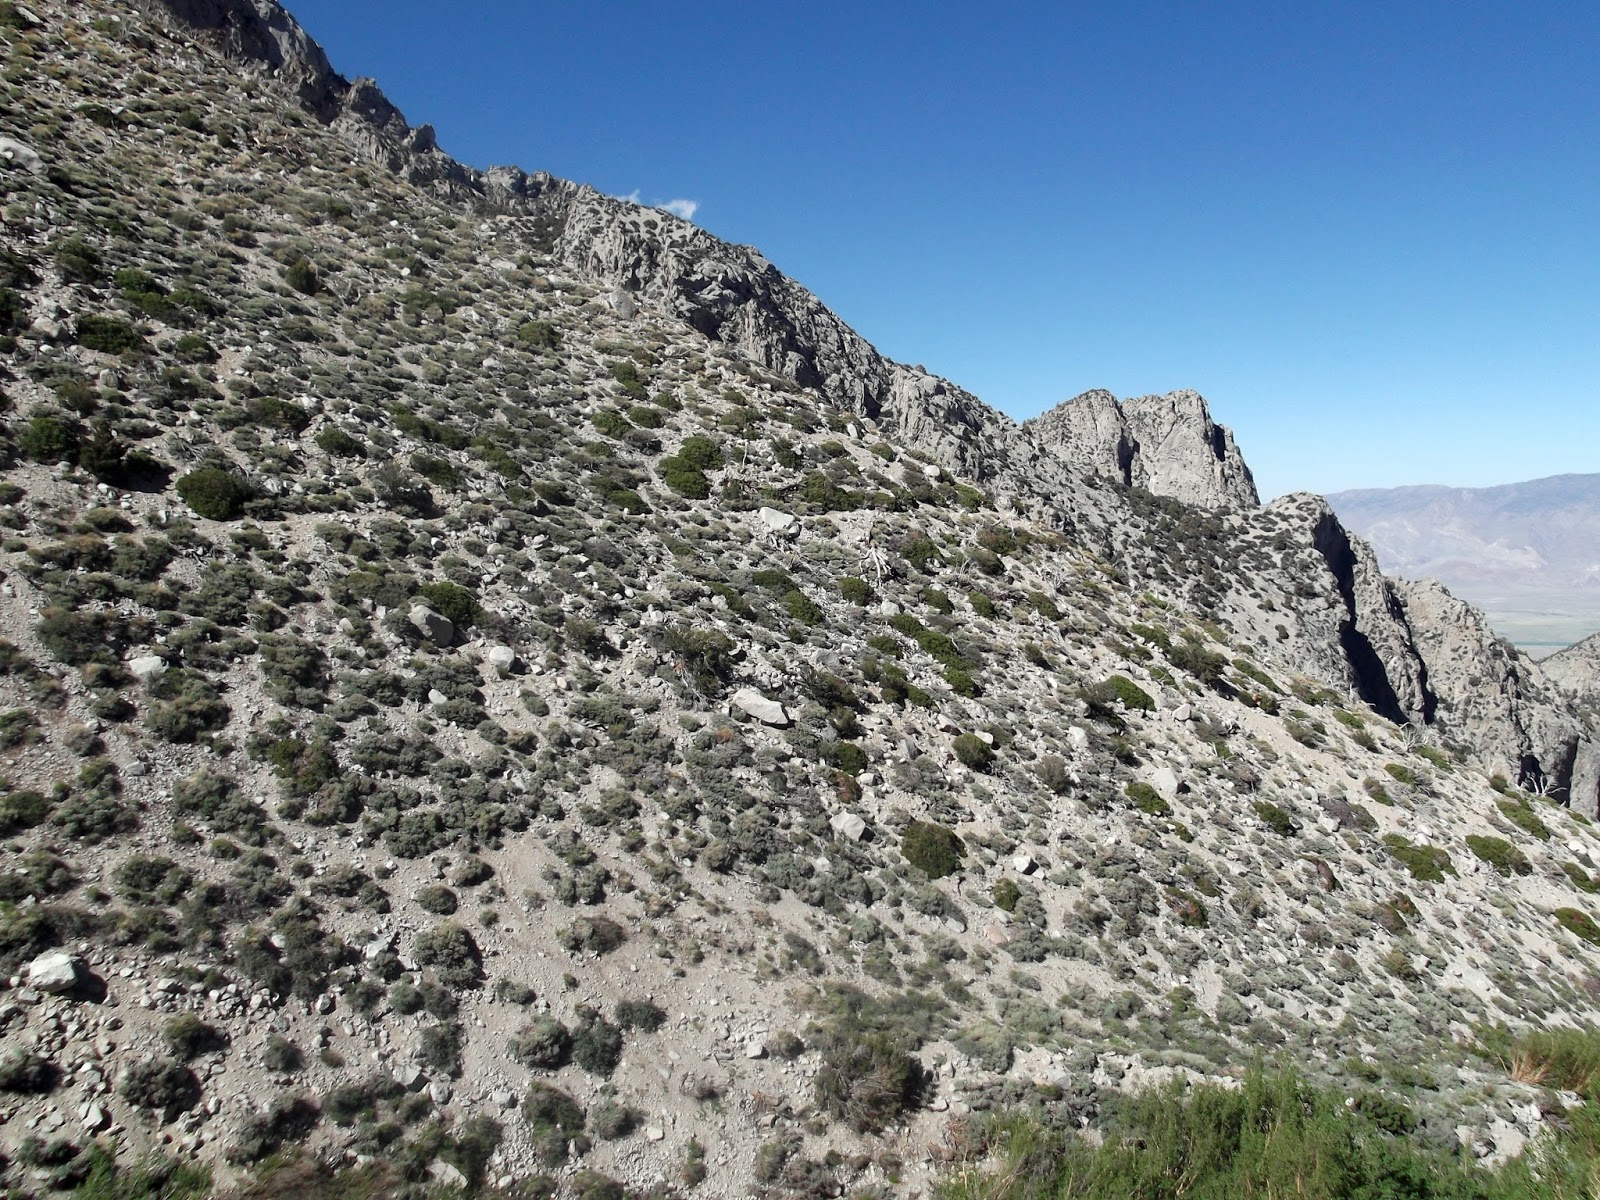
Photo Credit: Unknown
Thursday June 23rd 2011:
We departed Fresno way too early in the morning and after stopping off at the visitor center in Lone Pine for a wilderness permit, we were at the Shepard Pass trail head by 11 AM.

The Shepard Pass trail is notoriously known as one of the harder eastern sierra passes. To quote Secor's Peak, Passes, and Trails, "The Shepherd Pass trail has a well deserved reputation for being long, steep, and difficult. In the middle part of the trail, which is east of the Sierra crest, there is a 500 feet loss (or gain depending on direction)." The trail head elevation is 6,299' with the pass crossing of 12,008'. That alone puts the elevation gain of 5,700' PLUS the extra 500' that is lost in the middle part. Seriously, 6,300' of climbing. I knew we had a big day in store but I wasn't sure exactly how it would all shape up.

The trail actually starts with ascending Symmes Creek drainage first then drops over a pass (thus losing 500') to join the Shepherd Creek drainage. Conditions where hot with no breeze. I should had figured that summer in the Owens Valley would be blistering hot at the lower elevations.

The trail crosses Symmes Creek four times before beginning a long switch backing up and over a pass to Shepherd Creek drainage. Seen above is Russ crossing one of the four. Somewhere during one of the crossings one of my water bottles (the only one with water) fell out of my side bag pocket. I unfortunately didn't notice it until much later up the hillside and was left with no water. Russ let me drink some of his but the steepness of the climb and the heat was starting to beat me down. Not having water just hurt that much worse.

Above: Looking down on some of the switch backs climbing out of Symmes creek drainage.
Below: Reaching 9,100' the trail crests a pass crossing into the Shepherd pass drainage. Seen below is an impressive view of the north face of Mt. Williamson. Some seriously cool alpine routes are on this face like The Long Twisting Rib III 5.4 and the North Face III 5.0 among others.

Above: Looking back on our progress. After crossing the gap from Symmes Creek into Shepherd drainage the trails loses about 500'.
Below: It took over 3 exhausting thirsty hours to reach the first suitable campsite location that evening. We managed to find a trickle along the way and filter for water but still the trail's steepness was unrelenting.

By 6:30 PM, both of us had enough for the day. I seriously underestimated the hike. Heat, heavy bags, lots of climbing, and a very early start from Fresno were to blame for blowing it all out that day. The trail angle mellows out a little upon entering a pine forest around 10,000'. This location is labeled "Anvil Camp" on the map as well as several guide books. I'm not sure what the etymology behind that name is. However, many flat sites and plenty of running water makes it a perfect stopping place after the grueling 6 mile hike up from the trail head.

Above: Anvil Camp at 10,300'
Below: Blown out. We hadn't crossed one patch of snow, however, just at Anvil Camp we encountered our first of many large snow patches and drifts.

Friday June 24th 2011:
I slept like a rock the previous night from yesterday's all day grind.

Above: We got a 5:00 AM start on the trail.
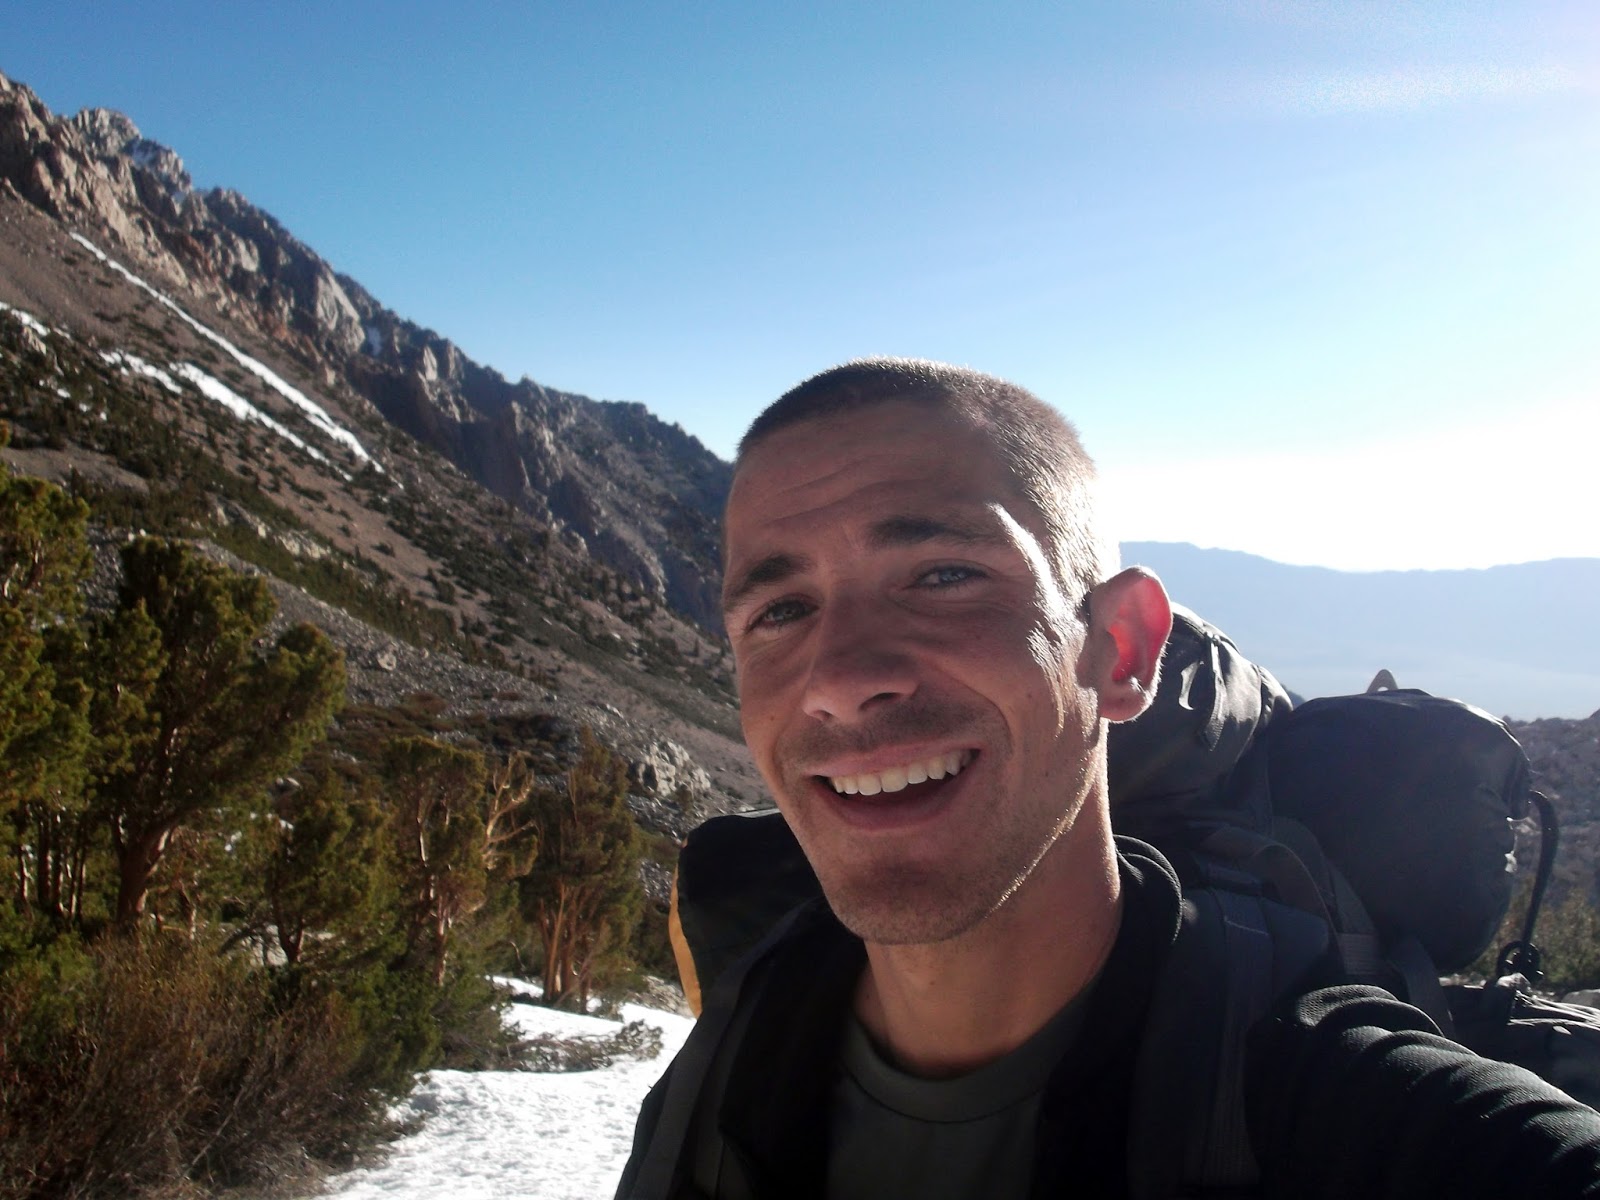
Below: Well rested, and in much better spirits from the previous evening.
From Anvil Camp it is another 3 miles and 1,700' of elevation gain to Shepherd Pass. The weather was much more pleasant than being down in the Owens Valley where it was blistering hot. It took us a little over 3 hours to climb the pass. The eastern aspect retains snow generally much longer than other Sierras passes so we had to don crampons in the morning ice to get us up an over.

Above: We eventually lost the trail under continuous snow. This is looking up towards the pass.
Below: Looking back on Russ coming on up.


Above: Taken from almost the top of the eastern side of Shepherd Pass looking back on the drainage towards Anvil camp.
Below: The official top of the pass is 12,008' and is marked by entering into Sequoia National Park. Mt. Tyndall is seen on the left.

From the pass we broke off and begun our cross country portion to find a campsite somewhere on the crest overlooking what is know as the Williamson bowl. (If one was to continue on the trail for another 4 miles it junctions with the John Muir Trail and is technically the shortly distance to the upper Kern basin)

Pictured above is our "camp" somewhere around 12,400' still on the western side of the crest. Over the ridge in the foreground drops in to what is known as the Williamson Bowl, which is technically back on the eastern side of the Sierra crest. Running water was ample from the melting snow patches nearby. It was only 10:30 AM by the time we had our camp setup. Given the long amount of day light remaining and our otherwise good spirits, we decided to launch off on our trip of Mt. Williamson via the West Face.

Above is a Google Earth track of our path through the Williamson Bowl.This high elevation bowl is home to 5 alpine lakes each hanging in their respective benches. I had read several reports online of parties underestimating the scale of traversing this bowl. Although just one mile as the crow flies, the bowl contains countless gullies, ridges and other forward progress impeding things.

Above: From our camp we quickly crested the ridge line looking down in to the Williamson Bow. Also the sheer scale of the entire west face of the mountain came in to full view. I'll admit, like the guidebook description said, finding the start of the route might be a serious challenge.
Below: Russ traversing the Williamson Bowl with Trojan Peak (13,950') can been seen far off in the background left.


Above: By noon, somehow the west face didn't seem to be that much closer even though we were making good progress in the bowl. Our "aiming" point to find the mysterious class 3 chute that would take us up through the maze was a "most prominent black stain in a rock." It's probably pretty hard to see in the picture, but to the left of the vertical snow field there is a black stain. There are many water leaks which are staining the rocks, so we just had to aim for the largest of these.
Below: Looking back on our progress though the bowl. Mt. Tyndall's amazing east face is seen on the left.


Above: The black water stain! If you look closely you can see a chute opening in the face maze up and diagonally left from the stain.
Below: And behold. It's the West Face route. (1:50 PM)


Above; We began the long and slow trek up the chute. The chute itself was class 2. The higher we got the view continued to open up. Once again, looking back on the east face of Tyndall and the Williamson bow.
Below: Although we encountered snow patches, the sun had warmed them enough to kick steps into.


Above: Looking back down the chute.
Below: This is the class 3 section described as, "100 feet to a 60-foot class 3 crack." I had no idea what a class 3 crack would even look like. It maybe took us five minutes to climb it. Huge foot and hand holds where everywhere made climbing it a breeze.


Above: This is the top of the chute (Not too be missed if returning this way...) Russ looking very spent now with the undertaking of having to continue moving up a few hundred more feet on the plateau to the summit proper.
Below: 5:00 PM - 12 hours after leaving Anvil Camp we arrived on the summit of Mt. Williamson (14,375') making for my 3rd California 14er!


Above: A panorama from the southeast summit (high point). The West & East Horn can been seen across the plateau.
Below: From the notch, this is looking down the class 3 crack back down towards the west face chute.


Our long arduous trek back down the West Face chute took quite some time. Seen here is Russ descending the chute as evening approaches. The last photo I have from our long day, we are close to exiting the chute near 7:00 PM. The next 3 hours were a long blur for both of us. Exhaustion had set in and we still had to cross the Williamson bowl. Fortunately, we had long daylight and only in the last hour did we need to put on headlamps. However, once the sun did set the snow refroze and in the last hour we needed to put our crampons back on to ascend out of the bowl back. Once cresting the ridge back on the western side of divide we were tasked with finding our tent in a vast open space with no moonlight to assist. I'd never been in this situation before and if you were to ask me now how I found that tent I couldn't tell you. I believe I followed what I hoped was the right snow patch melt stream down a hill. There had to be 10 different snow patches with different melt streams down this hill side that is over a half square mile of land. Somehow, I found it. It is rumored that somewhere in the hour long search for our tent, Russ broke down and cried...I'll admit I wasn't far from it too.
17 hours after leaving Anvil Camp, we fell over in our tent and crashed out. I don't remember making dinner but just falling asleep.
Saturday June 25th 2011:
After the previous two day's blow outs we were done with no energy left for Mt. Tyndall. Such as shame too, we were soooooo close from our camp.

But we didn't have enough food/fuel to hang out for another day. We both had a leisurely breakfast and decided to pack it up and come back another time. In the meantime, Mt. Tyndall would have to wait.

Above: By 8:30 AM we had packed up the tent and were hiking back towards Shepherd Pass trail.
Below: At the pass we came upon the only other person we would see on our trip.

We wouldn't return to the trail head until 4:00 PM making our call to not attempt Tyndall and hike out in the same day a good one. Even the hike down the hill on the trail was brutal and exhausting. Once again, another late night drive back to Fresno, but I was very contempt knowing that we had summited one of the harder (length and scale) 14ers summits.
I've decided that the best approach to return to Mt. Tyndall would be to camp out on the eastern Sierras and hike up the Shepherd Pass trail EARLY in the morning prior to it getting too hot out in the lower elevation. Lastly, I don't believe there is any good reason to camp above the pass. Camping at Anvil Camp would be much more mellow than hauling a heavy pack over the pass. Day hiking the peak from Anvil Camp and even hiking out on the same day would be the best approach to a return trip.
California's 14er's. To date my successful list consists:
- Mt. Whitney
- Mt. Shasta
- Mt. Williamson
- Mt. Tyndall
- Split Mountain
- Mt. Muir
- Mt. Russell
- Middle Palisade
- Mt. Sill
- White Mountain
- Mt. Langley
- North Palisade


